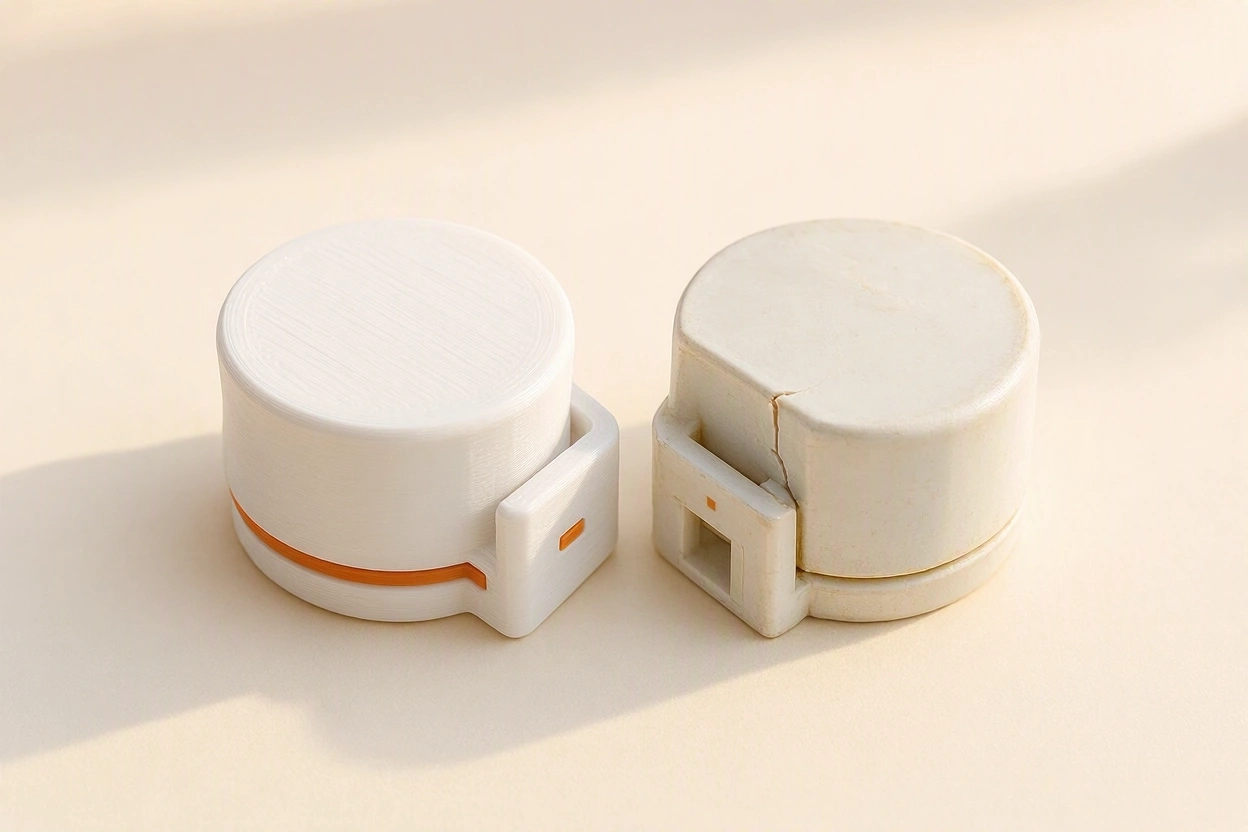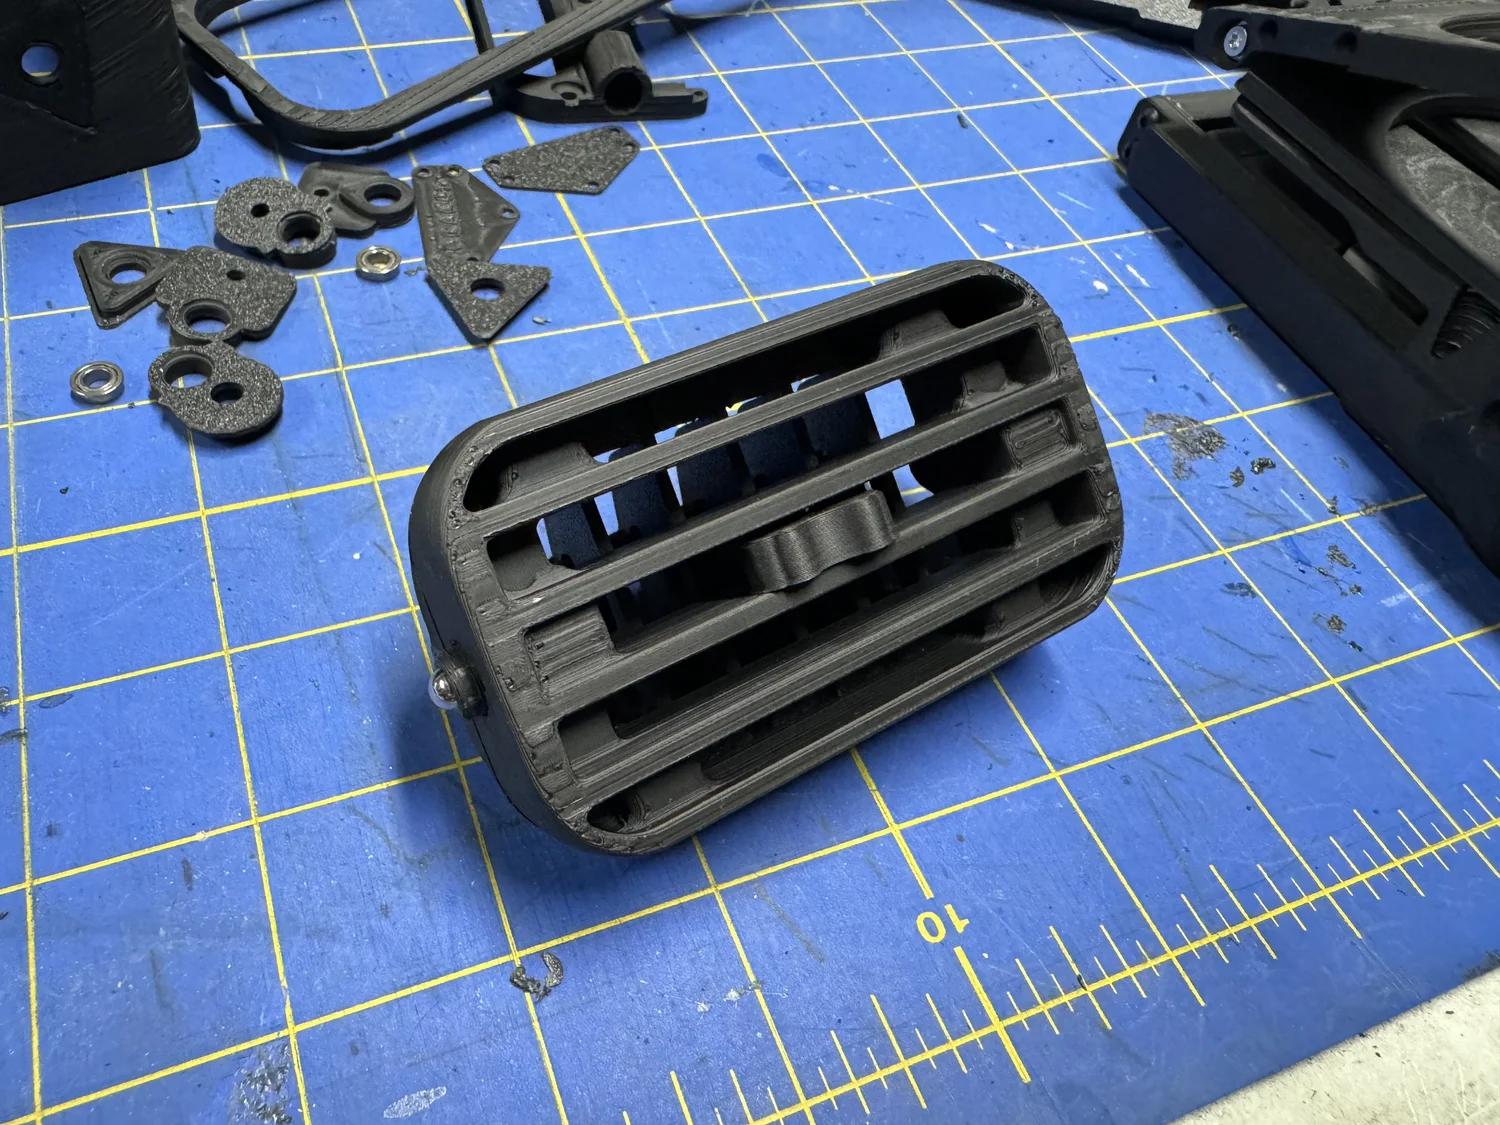
A broken plastic trim clip, a missing dashboard cover or a cracked centre console fitting can make an otherwise perfectly usable car interior look unfinished. Finding an original replacement isn’t always easy, especially when the vehicle is older or the manufacturer only sells the entire assembly.
But can you 3D print car interior replacement parts instead of replacing the whole component?
Yes! Many non-safety-critical plastic parts inside a car can be recreated using 3D printing. This includes trim clips, brackets, covers, knobs, small mounting components and various interior fittings.
Even better, you don’t necessarily need an existing 3D model or a 3D printer. A broken original part, a few photographs and some measurements can be enough to start recreating the component.
In this guide, we’ll explain which car interior parts can be 3D printed, how the process works, which materials are suitable for automotive interiors and how you can get a custom replacement made.
Which Car Interior Parts Can Be 3D Printed?
Modern vehicles contain hundreds of plastic components. While many are manufactured using injection moulding, smaller individual parts can often be recreated using 3D printing.
The technology is particularly useful for small components that are difficult to find separately or have been discontinued.
Here are some common examples.
Interior Trim Clips and Fasteners
Plastic clips are among the most common components to break when removing or refitting interior panels.
They can become brittle with age, snap during maintenance or simply disappear during a repair.
3D printing can be used to recreate certain non-structural trim clips and retainers, provided the design and material are suitable for the application.
Examples include:
- Door panel trim clips.
- Dashboard panel retainers.
- Centre console fasteners.
- Plastic panel spacers.
- Non-structural interior mounting clips.
Dashboard and Centre Console Components
The dashboard and centre console contain numerous small plastic fittings that can become damaged through everyday use.
Depending on their function and location, suitable replacement candidates may include:
- Cosmetic dashboard covers.
- Switch surrounds and blanking plates.
- Centre console inserts.
- Small storage compartment fittings.
- Non-structural mounting brackets.
- Plastic trim bezels.
These components can often be designed to match the original dimensions and appearance.
Air Vent Components
Broken air vent adjustment tabs, small louvers and decorative surrounds can be frustrating to replace.
In some vehicles, manufacturers only supply the complete ventilation assembly rather than individual plastic components.
A custom 3D printed replacement may be an option for non-safety-critical external vent components, provided the replacement does not interfere with the vehicle’s ventilation, demisting or defrosting performance.
Interior Covers, Caps and Knobs
Small covers and decorative parts are another useful application.
Examples include:
- Plastic screw covers.
- Storage compartment caps.
- Cosmetic switch caps.
- Seat trim covers.
- Non-structural adjustment knobs.
- Cup holder inserts.
These parts are often relatively small, making them suitable candidates for custom 3D printing.
Custom Mounts and Accessories
3D printing isn’t limited to replacing broken components. It can also help create accessories that fit a particular vehicle.
For example:
- Custom phone mounts.
- Dashcam brackets.
- Cable management clips.
- Additional storage inserts.
- Small accessory holders.
- Custom mounting adapters for non-safety-critical equipment.
Instead of adapting a generic accessory, you can create a design around the available space and mounting points in your vehicle.
Which Car Parts Should NOT Be 3D Printed?
This is an important distinction.
Although 3D printing can reproduce many plastic components, not every car part is suitable for a printed replacement.
A vehicle contains systems where component failure could cause serious injury.
Do not use ordinary 3D printed replacement parts for:
- Airbag components, covers or deployment mechanisms.
- Seat belt mechanisms, buckles or anchorages.
- Steering components.
- Brake system components.
- Suspension and structural mounting components.
- Pedals and other safety-critical controls.
- Fuel system components.
- Any part whose failure could compromise occupant protection or vehicle safety.
Some dashboard and steering-wheel trim is also associated with airbag deployment zones. Never modify or replace such components with an unapproved printed part.
When in doubt, consult a qualified automotive professional and use an appropriate manufacturer-approved replacement.
For vehicles used on public roads in the UK, modifications should also be considered in the context of applicable vehicle safety requirements and MOT inspection rules.
What Materials Are Best for 3D Printed Car Interior Parts?
Choosing the correct material is particularly important for automotive applications.
Unlike many household objects, components inside a vehicle can experience significant temperature changes.
A car parked in direct sunlight can become extremely hot, especially around the dashboard and rear parcel shelf.
This means that a material suitable for an indoor household accessory may not be appropriate for a car interior.
Here are three common materials to consider.
PLA – Generally Not Recommended for Exposed Car Interiors
PLA is one of the most popular materials in 3D printing because it is easy to print and provides good dimensional accuracy.
However, standard PLA has relatively low heat resistance.
In a hot vehicle, especially in direct sunlight, a PLA component may soften, deform or lose its original shape.
For this reason, we generally wouldn’t recommend standard PLA for dashboard accessories, exposed trim or other components that experience high cabin temperatures.
PETG – A Versatile Option for Suitable Interior Applications
PETG offers a useful balance of durability, flexibility and ease of printing.
It is often a better option than PLA for functional replacement components.
Potential applications include:
- Interior storage inserts.
- Non-critical mounting brackets.
- Cable holders.
- Small covers.
- Components in cooler or shaded areas.
However, PETG is not automatically suitable for every part of a vehicle interior. Its heat resistance varies by formulation, and prolonged exposure to high temperatures can still cause deformation.
ASA – A Good Choice for Heat and UV Exposure
ASA is particularly useful for components that experience sunlight and changing outdoor conditions.
It offers good UV resistance and generally better heat resistance than standard PLA and PETG.
Potential applications include:
- Dashboard accessories.
- Exposed interior trim.
- Custom mounting components.
- Parts located near windows.
- Components that may experience regular sunlight exposure.
The exact suitability depends on the filament specification, component geometry and expected operating conditions.
| Material | Main advantages | Automotive considerations |
|---|---|---|
| PLA | Easy printing, good detail | Generally unsuitable for hot, exposed interiors |
| PETG | Good balance of flexibility and durability | Suitable for selected applications, depending on temperature |
| ASA | Better heat and UV resistance | Often a good candidate for exposed interior components |
Important: Material selection should never be based on the material name alone. The manufacturer’s technical data, expected temperature, mechanical loading and component design all matter.
For a more detailed comparison, read our guide: PLA vs PETG vs ASA: Which Material Is Best for Your 3D Printed Part?.
How Do You Recreate a Broken Car Interior Part?
One of the biggest advantages of custom 3D printing is that you don’t necessarily need the original digital design.
If you have a broken component, it may be possible to recreate it using photographs, measurements and the remaining pieces.
Here’s how the process typically works.
Step 1: Photograph the Original Component
Start by taking clear photographs of the broken part.
Ideally, include:
- Front and back.
- Both sides.
- Top and bottom.
- Close-ups of broken sections.
- Mounting points and connection features.
- The location where the component fits inside the vehicle.
If you still have the broken fragments, photograph them together and separately.
Step 2: Measure the Important Dimensions
Measurements help establish the original geometry.
Useful dimensions include:
- Overall length, width and height.
- Thickness of the component.
- Diameter of holes and openings.
- Distance between mounting points.
- Dimensions of clips and tabs.
A digital calliper is particularly useful for small automotive fittings, although a ruler can be sufficient for initial measurements.
Step 3: Recreate the Design in CAD
The photographs and measurements can then be used to recreate the component as a digital 3D model.
A designer may use CAD software to reproduce the original geometry, adjust mounting features and make carefully considered improvements where appropriate.
If you don’t have a CAD file, this stage can be handled as part of a custom design service.
Step 4: Print and Check the Replacement
Once the model is ready, the component can be prepared for printing.
Print orientation, wall thickness and material selection should be considered before production.
For parts with clips or flexible mounting features, the orientation of the printed layers is especially important.
Where practical, the fit should be checked before the part is put into regular use.
Can You 3D Print a Discontinued Car Interior Part?
Yes. This is one of the most interesting applications of custom 3D printing.
Older vehicles can be particularly difficult to maintain because some manufacturers no longer produce individual plastic components.
You may find that a small broken plastic fitting is only available as part of a much larger assembly, or that the original replacement has become difficult to source.
3D printing offers another possibility.
If the original component is available, even in a damaged condition, a designer may be able to recreate its geometry and produce a replacement.
This can be particularly useful for:
- Classic cars.
- Older vehicles.
- Limited-production models.
- Discontinued interior fittings.
- Unusual plastic mounting components.
The key requirement is having enough information to reconstruct the original shape and understand how the part is used.
A replacement should not be assumed to be equivalent to an original manufacturer component without appropriate design validation.