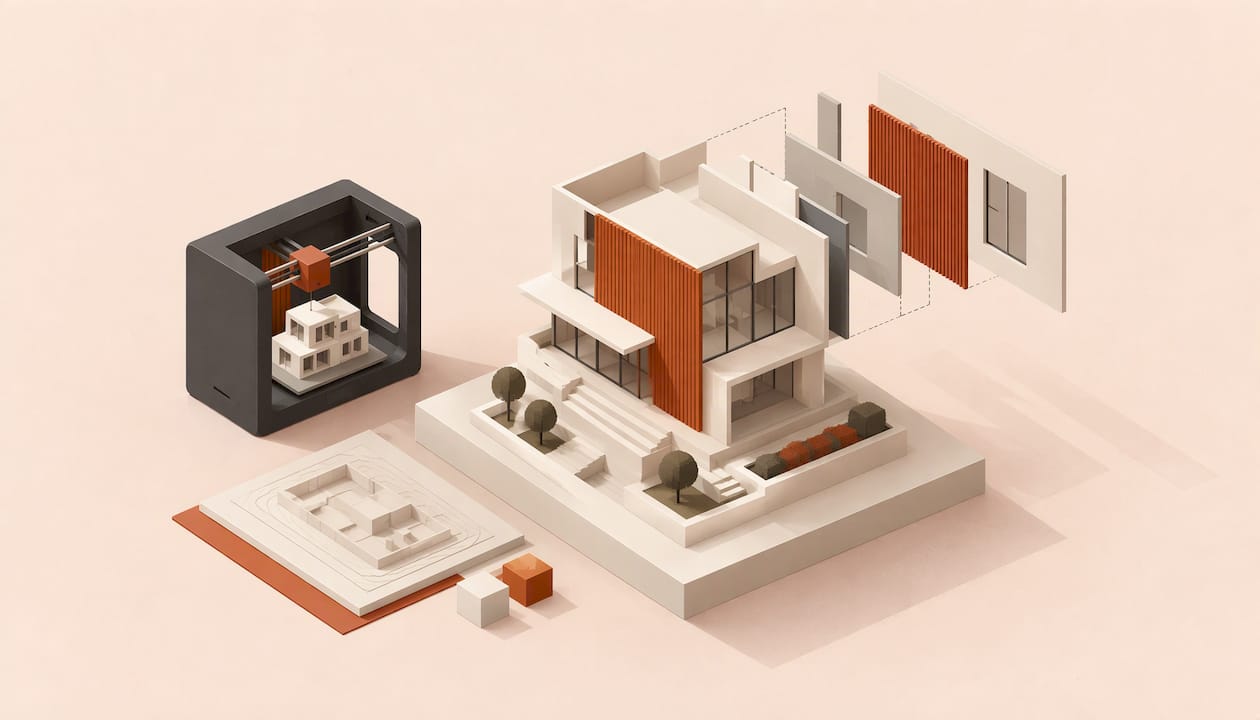
You can get a 3D model from a photo in three ways: an AI tool that guesses the whole shape from one image, photogrammetry from many overlapping shots, or a designer who models the part by hand from your photo, drawing and measurements. For a decorative object, AI is often enough. For anything that has to fit, hold or clip onto something real, you need measurements and a modelled part. If you would rather not do it yourself, we design from a photo or description at £25-40 per hour and then print the result.
This guide explains what a photo can and cannot tell a computer, how to shoot or draw your reference so the result is usable, how to check a file before printing, and how to choose a material once you have one.
TL;DR
- One photo shows the outside of an object from one side. Everything hidden, and the real-world size, has to be guessed or measured.
- AI image-to-3D suits concept pieces and ornaments. Parts that must fit need a measured, modelled design.
- Sketches and drawings convert well when they carry dimensions. Add a measured reference to any photo.
- Export STL or 3MF, check the model is a closed solid at the right scale, then choose a material for the job.
- We can model from your photo or description (£25-40 per hour) and print it, with no account needed.
Table of Contents
- What a single photo can and cannot tell you
- Three ways to get a model from a photo
- How to take photos that help
- Turning a drawing or sketch into a 3D model
- Checking the model before it prints
- Choosing a material once you have a model
- Worked examples
- Perspective
- Get it designed and printed with us
- FAQ
- Sources
What a single photo can and cannot tell you
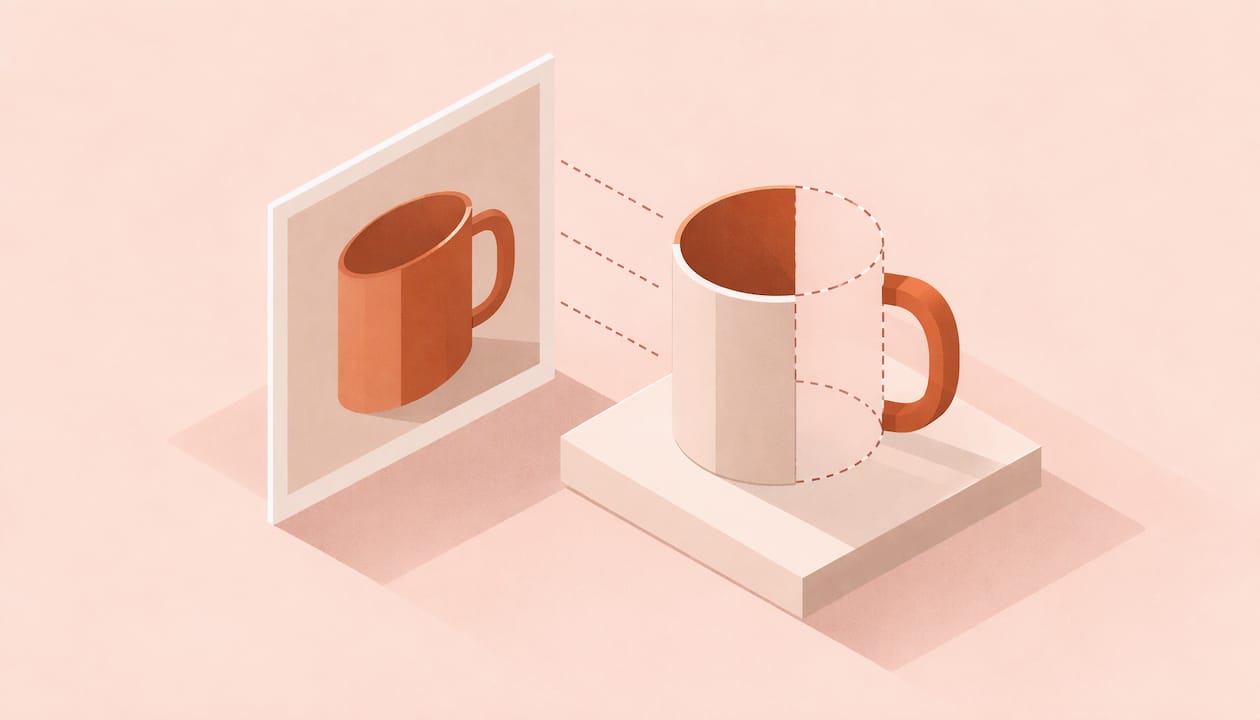
A photograph is a flat record of light. It captures the visible outline, colour, shading and perspective of an object. It does not directly record the back, the underside, the true scale or what the object is made of, as G3D.AI’s capture guide explains.
That does not make a single image useless. Silhouettes suggest the outer shape, perspective hints at depth, and shadows show where an object touches a surface. Sculpty’s image-to-3D guide describes how a model can use these cues, plus its knowledge of familiar object structure, to infer surfaces the camera never saw.
The key word is infer. A one-photo AI tool produces an estimate of the whole object. Segmentit’s comparison of methods notes that the hidden surfaces remain estimates, so the approach fits cases where a plausible shape is enough to explore an idea.
That gives you a simple rule of thumb:
- Looks right is enough: a figurine, a desk ornament, a prop, a gift. A single-photo result may do the job.
- Has to be right: a bracket, a replacement knob, a case for a gadget, a part that slots into something. You need real dimensions and a model built to them.
Three ways to get a model from a photo
1. AI image-to-3D generators
These tools take one or a few images and produce a mesh within minutes. They are quick and often free to try. The trade-offs are consistent across the guides we read: results can be inconsistent on complex organic shapes, unseen surfaces are guessed, and files usually need cleaning up before printing. 3DPrinting.com’s review of AI generators makes a useful point: these tools are tuned for how a model looks on screen, not for how it prints, so expect a repair step to check the geometry is a closed solid and the scale is right.
They are best treated as a sketching tool: good for concept work, stylised pieces and early prototypes where exact dimensions do not matter.
2. Photogrammetry
Photogrammetry works from many photos of the same object, taken from all around it. Because the software sees more sides, it is not asked to invent the ones it cannot see. Segmentit’s guide points out that gaps in coverage still need attention, since a filled-in hole is not proof of what the real surface looked like.
It suits objects with texture and a solid surface that you can photograph freely: a statue, a rock, a carved item. It struggles with shiny, transparent or very plain surfaces, and the output is a surface scan, not a clean engineered part. Flat faces, round holes and sharp edges usually need to be rebuilt.
3. Modelling by a person
A designer uses your photos, sketches and measurements as a reference and builds the part in CAD, feature by feature. This is slower than AI but gives you what the other two cannot: exact dimensions, clean flat faces, holes that are the right size, and tolerances chosen for the way the part will be printed.
This is the route for functional parts, and it is what our design service does. We work from a customer photo or a written description, billed at £25-40 per hour, and can print the result for you afterwards.
| Method | Speed | Dimensional accuracy | Best for |
|---|---|---|---|
| AI from one photo | Minutes | Low, shape is estimated | Ornaments, concepts, props |
| Photogrammetry | Hours | Medium, surface scan | Textured, organic objects |
| Modelled by a designer | Hours, depending on the part | High, built to your measurements | Functional parts, fittings, replacements |
How to take photos that help
Whichever route you choose, better reference material gives a better model.
- Use soft, even light. Daylight from a window on an overcast day works well. Hard shadows hide shape and confuse scanning software.
- Shoot square on. For modelling by hand, take a straight front, side and top view, as level as you can, rather than angled snapshots.
- Include a measured reference. Put a ruler or a coin beside the object, or, better, write down the key measurements: overall length, width, height, hole diameters, wall thicknesses. G3D.AI recommends recording scale with a measured reference for exactly this reason.
- Photograph the awkward side. If the object clips to something, show the mating part too.
- Hold still and keep the object in frame. Blur and cropped edges cost detail.
For photogrammetry, cover every side and keep generous overlap between neighbouring shots. Apple’s Object Capture tooling, for example, is described in its developer forum as asking for at least 70% overlap between photos. Use a tripod or a steady hand and keep the lighting constant between shots.
If you are sending us a photo for design, a few clear images with a rough dimension list is plenty to start. Tell us what the part does, what it attaches to and where it will live, such as outdoors or near heat, because that shapes the design and the material.
Turning a drawing or sketch into a 3D model
Drawings are often a better starting point than photos, because they can carry numbers. A hand sketch with dimensions written on it tells a designer more than a beautiful photo with none.
The usual workflow for a dimensioned drawing, as set out in TruePart’s drawing-to-CAD guide, is to set the units, origin and reference points, build the base body, add features using the drawing’s dimensions, finish edges last, and check the finished model against the drawing.
If you have a multi-view drawing, the views need comparing against each other. MST’s guide to preparing 2D drawings for printing describes checking front, top, side and section views together to find overall dimensions, holes, steps, wall thicknesses and features hidden in one view.
For a freehand sketch, you can help the process by:
- Drawing at least two views, such as front and side, so depth is clear.
- Writing every dimension you know in millimetres, and marking the ones that are critical.
- Noting which surfaces mate with other parts.
- Saying how thick the walls should be if the part will be under load.
A sketch of a decorative shape can also go through an AI generator, but the same caveat applies: the result is a plausible interpretation, not a built-to-size part.
Checking the model before it prints
Whether a model came from AI, a scan or a designer, check it before sending it to print.
Pick the right file format
STL and 3MF are the two formats we accept. STL is the long-standing standard and stores only the surface shape. 3MF is a newer format that can also store colour, material, multiple parts and print information, according to this explanation of the 3MF format. If your software offers both, 3MF is a sound choice, and STL works perfectly well for single-colour parts.
Run through this checklist
- Scale. Open the file in your slicer or viewer and measure a known feature. AI and scan files often arrive at the wrong size, in the wrong units.
- Closed solid. The model should be watertight with no holes in the surface. Most slicers and mesh repair tools flag gaps.
- Wall thickness. Very thin walls and fine spikes can fail or break. Thicken anything that will be handled.
- Orientation. Think about which face sits on the build plate. Layers are weaker between each other, so avoid putting a load across them.
- Fit allowances. If two printed parts must join, or a part must slide onto something, leave a small clearance rather than modelling a zero gap.
- Loose bits. Delete stray fragments, floating shells and duplicate geometry that scans and AI tools often leave behind.
Not sure about a file? Upload it for a quote and tell us in the notes what it is for. We would rather talk it through than have you guess.
Choosing a material once you have a model
The same shape behaves very differently depending on what it is printed in. These are the common FDM options for quick prints, prototypes and functional parts.
| Material | Typical use | Worth knowing |
|---|---|---|
| PLA | Decorative objects, concept models, prototypes | Easy to print and rigid but brittle, and it softens in heat, so keep it away from hot cars and radiators |
| PETG | General functional parts | A tougher alternative with better chemical resistance and durability |
| ABS | Functional parts needing heat and impact resistance | Tough and heat resistant |
| ASA | Outdoor parts | Adds UV resistance |
| Nylon | Snap-fits, hinges | Flexible and durable |
These properties follow the general guidance in Formlabs’ UK materials overview, which describes PLA as rigid but brittle and less heat resistant, and ABS as tough and suited to functional prototypes. Which of these are available to order can vary, so check the options on the order page. The simplest approach is to tell us where the part will live and what it must do. Our guidance on materials is based on the intended use, so you do not need technical knowledge to choose well.
Worked examples
A replacement battery cover from a photo. One photo is not enough. Measure the opening and the clip positions, photograph the cover and the slot, and send both. A designer models it to size, and you print it in a tougher material than a decorative piece would need.
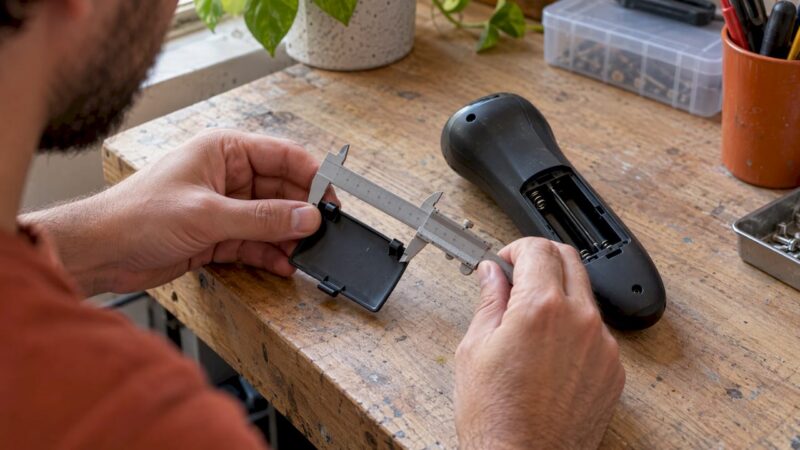
A pet figurine from a single image. This is where AI generation is a reasonable choice. Run the photo through a generator, check scale and closed geometry, then upload the file. Detail on the back will be an educated guess, which is fine for an ornament.
A garden tool holder from a pencil sketch. Draw front and side views, write the dimensions, and say it will be outdoors. That brief is enough for us to model it and suggest a UV-suitable material.
Perspective
We built Tap3D because getting something printed is more complicated than it should be. You should be able to upload a file, see a price straight away and order without creating an account.
Photos are where most people start, and we understand why: it is the thing you have in your hand. Our view is that a photo is the beginning of a design, not the end. For ornaments, a quick AI result can be fun. For anything that has to work, a short conversation, a few measurements and a modelled part get you there faster than rounds of repair and reprints.
That is why we offer design from a photo or description alongside printing. Our turnaround is human-checked, and our material guidance is based on what the part is for, so you get a print that suits the job without needing to be a 3D printing specialist.
Rafal
Get it designed and printed with us
If you have a photo, a sketch or an idea but no model, we can help. Our design service turns a customer photo or description into a printable model at £25-40 per hour. If you already have an STL or 3MF, upload it for an instant price, with 3D printing from £8 and no account needed.
You can collect free in Ellesmere Port, choose local delivery across the Wirral and Chester for £4, or have it sent by Royal Mail anywhere in the UK for £3.75. Start your custom 3D print or see everything we offer on our homepage. If you want to see what a finished print looks like, look at our custom printed Tap3D logo sign.
FAQ
Can I make a 3D model from just one photo?
Yes, AI tools can generate a full model from one image, but the hidden sides and the real size are estimated. That is fine for decorative pieces. For a part that has to fit something, add measurements or have it modelled by a designer.
Can a drawing or sketch be turned into a 3D print?
Yes. A drawing with dimensions and at least two views is a strong starting point, because a designer can build the model to size. Once modelled, it is exported as STL or 3MF and printed. Our design service covers this at £25-40 per hour.
Is an AI-generated model ready to print?
Usually not straight away. These tools are tuned for appearance rather than printing, so check the scale, make sure the model is a closed solid and repair any gaps before you upload it. If you are unsure, tell us what the object is for when you request a quote.
What file should I upload?
We accept STL and 3MF files. STL stores the shape only, while 3MF can also carry colour and other print information. For a plain single-colour part, either works.
How much does it cost?
Printing starts from £8, and the instant quote updates as you upload, so you see the price before you order. Design work from a photo or description is £25-40 per hour. Delivery is £4 locally on the Wirral and in Chester, or £3.75 by Royal Mail.
Sources
- G3D.AI: Image to 3D reconstruction and capture guide
- Sculpty: Image to 3D model guide
- Segmentit: Photo to 3D methods
- 3DPrinting.com: AI 3D model generators for 3D printing
- Apple Developer Forums: ideal overlap in Object Capture
- TruePart: engineering drawing to 3D CAD
- MST: 2D drawing to 3D printing
- Innerscene: what a 3MF file is
- Formlabs UK: guide to 3D printing materials