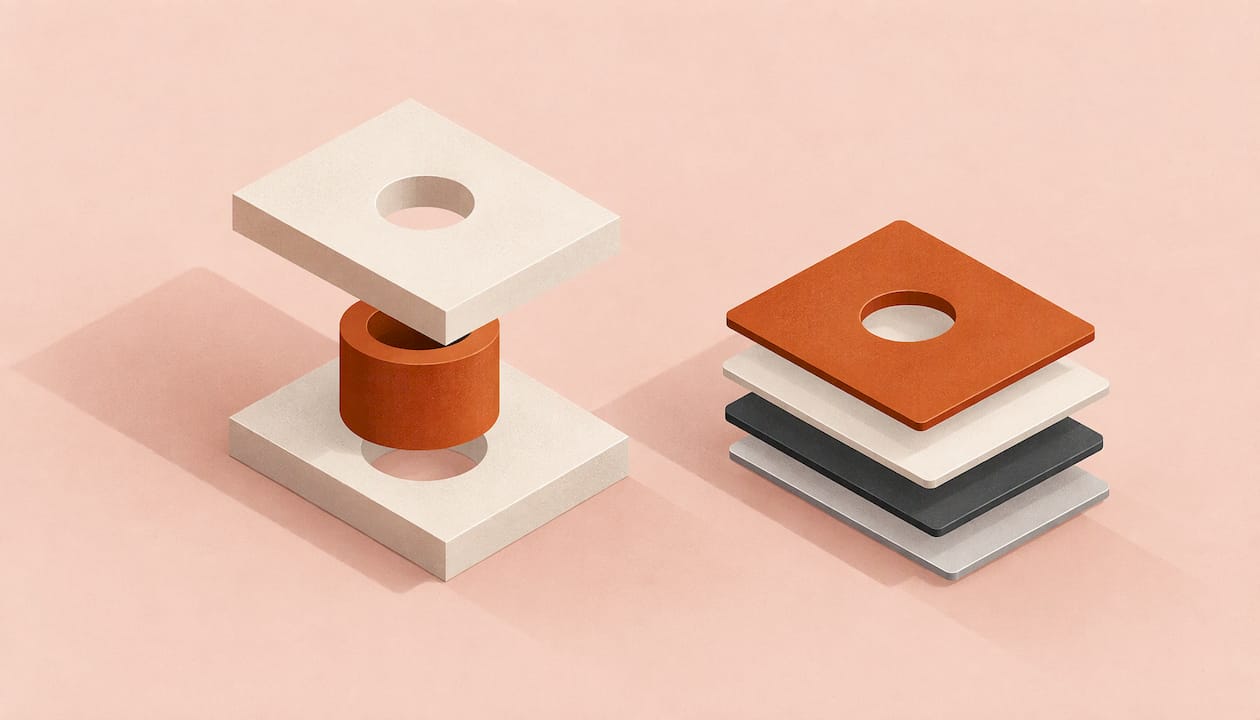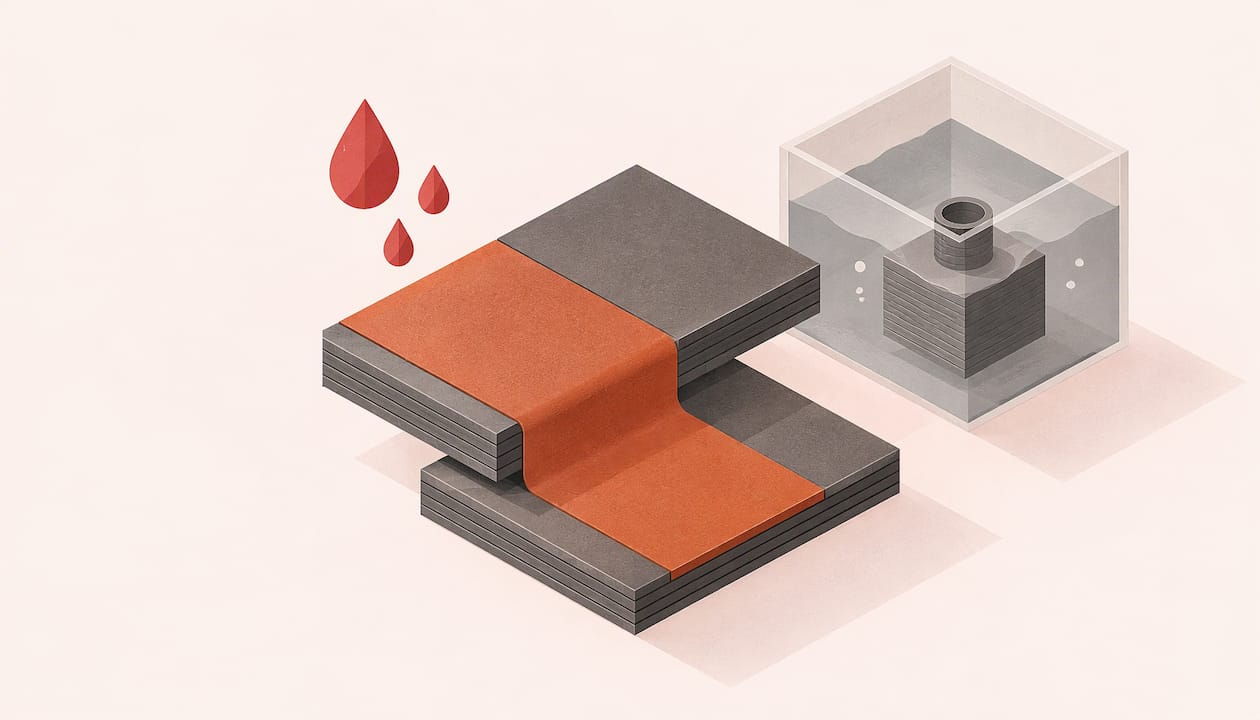
A 3D print is waterproof when its walls and base form one continuous barrier, and that depends on material, wall thickness, print settings, sealing and the water exposure you expect. Rain and splashes are easy to plan for. Long soaking, pressure and food contact need more care. Below you will find what makes prints leak, what to specify, how to seal a part, and how to test it before you rely on it.
TL;DR
- Standard layer-by-layer plastic parts are not watertight by default. Water finds its way through the seam and thin walls, not just between layers.
- Wall thickness matters most. Prusa’s tests found 4 to 6 perimeters (2 to 3 mm walls) worked for most parts, and a one-perimeter vase print sealed in every material tested.
- A coating, such as epoxy, can seal a part inside and out. Brush on thin coats and allow the full cure time.
- Test with water and a dry tissue over hours, not seconds. A one-minute check proves nothing.
- For long immersion, pressure or food contact, choose the material for the job and tell us what the part must do before you order.
Table of Contents
- Are 3D prints waterproof?
- Where the water actually gets in
- Design choices that make the biggest difference
- Print settings that help a part hold water
- How to seal a 3D print
- How to test whether a print is watertight
- Long soaking, hot water and food contact
- Our view on waterproof prints
- Get a part printed for wet conditions
- A quick checklist before you order
- FAQ
- Sources
Are 3D prints waterproof?
Not automatically. Parts printed by melting plastic layer by layer are anisotropic: the layers are not chemically bonded, so liquids can seep through microscopic gaps. The same source says that resin-printed layers bond chemically into a non-porous surface that water cannot penetrate, and that cured resins have very low water absorption.
A sealed result is still very achievable with layer-built plastic parts. A study of water uptake in printed structures found that diffusion runs one to two orders of magnitude faster than in conventionally made parts because of the porosity of the printed structure. The same study notes that changing print conditions or post-processing directly changes how fast water moves through the material. So the question is never only “which plastic?”. It is “what is this part’s design, wall and finish, and what water will it meet?”
It helps to split exposure into three levels:
| Exposure | Typical examples | What to prioritise |
|---|---|---|
| Rain and splashes | Garden labels, outdoor brackets, plant-pot saucers | Sensible material, solid walls, no thin unsupported sections |
| Holding water | Vases, planters, drip trays, pet bowls | Thick or continuous walls, sealed seam, a leak test |
| Soaking or pressure | Boat parts, aquarium fittings, enclosures that go underwater | Material choice, heavy wall build, coating, long testing |
Where the water actually gets in
Most people blame the gaps between layers. Prusa Research printed several dozen test models and reported that the main source of leaks is the seam created when the printer changes layer. That is why printing a vase with a single perimeter in vase mode, which has no layer-change seam, was enough to make it waterproof in every material they tried.
The seam is the point on each layer where the nozzle starts and stops. Leaks also appeared at the transitions between solid infill and the outer walls, according to a summary of Prusa’s findings. Shape plays a part too. Prusa’s knowledge base warns that thick walls needing infill can create irregularities, with water creeping into the void between inner and outer walls, and that even walls without protrusions work best.
A tempting fix is to raise the infill. It rarely helps on its own. A peer-reviewed micro-CT study found that print bodies are intrinsically porous whatever the infill, and that channel wall quality alone decides whether a part leaks. One hobbyist experiment printed a vase at 15%, 50% and 100% infill and filled each for five days. None leaked, but it was one shape and one short test. Tall containers put more pressure on lower walls and need their own testing.
Design choices that make the biggest difference
Wall thickness
Prusa’s results show that the number of perimeters is the most important factor. Most parts worked with 4 to 6 perimeters, which means walls of 2 to 3 mm. For a closable container, 2 to 3 mm walls are a good starting point, and Prusa suggests beginning tests with four perimeters and 60% infill.
With thick walls (6 perimeters, 2 to 3 mm or more), material hardly matters. With thin walls of 2 to 4 perimeters (0.9 to 1.8 mm), the ranking changes: PP gave the best barrier, then CPE, PC, ASA and ABS, while HIPS, nylon, PETG, PLA and PVB leaked noticeably more. In short, if you cannot make a wall thicker, the material choice matters far more.
Shape
Keep walls even and avoid bumps, markers or ridges on the inside. Open shapes such as vases can use vase mode. For complex models, Prusa treats two perimeters as the lowest sensible value. Put any holes, threads and joins away from areas under water pressure, because a joint is a seam by another name.
Material
PETG is a popular pick for waterproof work. Prusa’s materials page describes it as commonly used for mechanical parts, holders and waterproof parts thanks to good layer adhesion. But a material is not a guarantee. Results swing with the model: a box that failed in PETG held at 20 metres in PLA in Prusa’s second round of tests.
Print settings that help a part hold water
If you slice your own files, these are the figures worth knowing:
- Perimeters: at least 3 to 4 for a single wall.
- Layer height: 0.15 to 0.2 mm in Prusa’s guidance. The micro-CT study points lower, finding that layers under 0.1 mm and flow above 100% are key to leak-free channels. For vertical walls a low layer height matters most, while overextrusion is the deciding factor for horizontal ones.
- Temperature and flow: Prusa recommends raising nozzle temperature by 5 to 10°C over the preset and the extrusion multiplier by 5 to 10 percent. If leaks persist from the bottom, XY-overlap can go up to 25 to 35%.
- Flow in a controlled study: testing of PLA cylinders found optimal sealing at 96 to 102% flow with walls of at least 0.64 mm. The related paper tested samples filled to 80% with water at 22°C and found that low flow of 85 to 90% leaked immediately, typically along the vertical seam or where base meets wall.
These numbers come from specific printers, specific filaments and specific shapes. Treat them as a sound starting point, not a promise.
How to seal a 3D print
When a part must hold water or stay wet, a finish can close what the printer leaves open. The main options:
- Epoxy resin coating. The most popular route for a glass-like, sealed surface. Creality lists it as suitable for vases, cups and containers when applied inside and out. ColorFabb’s guide says to sand lightly, mix the two-part resin as the maker instructs, brush on thin layers in a ventilated space, and leave 24 to 48 hours to cure somewhere dust-free. Several thin coats beat one thick one, which tends to drip.
- Acrylic spray or enamel paint. A quick barrier over the print, with enough drying time between coats.
- Vapour smoothing. UltiMaker lists acetone vapour for ABS and isopropanol for PVB, alongside heat treatment. Acetone is flammable, so work with proper ventilation and no ignition sources.
- Wax. Quick, but it is not durable and heat can melt it. It suits a decorative piece, not a working container.
For tough conditions, a harder test of sealing is instructive. A drone team testing printed submersible hulls found the prints coped at 10 cm of water pressure but that water soaked into the layers at greater depth. Epoxy helped to a degree, and a penetrating sealant did better, with very little ingress even at high pressure. The lesson: the deeper the water, the more you need walls, finish and testing to work together.
How to test whether a print is watertight
Fill it to the brim, stand it on a dry white tissue, and wait. This is the method described in a summary of Bambu Lab and Prusa test practice: a dry tissue after 48 hours counts as a pass for the vase test, and Prusa’s closed-model criterion was a dry interior after a night submerged. Creality’s guide says several hours, with damp spots showing leaks. For closed shapes, put a dry tissue inside before submerging.
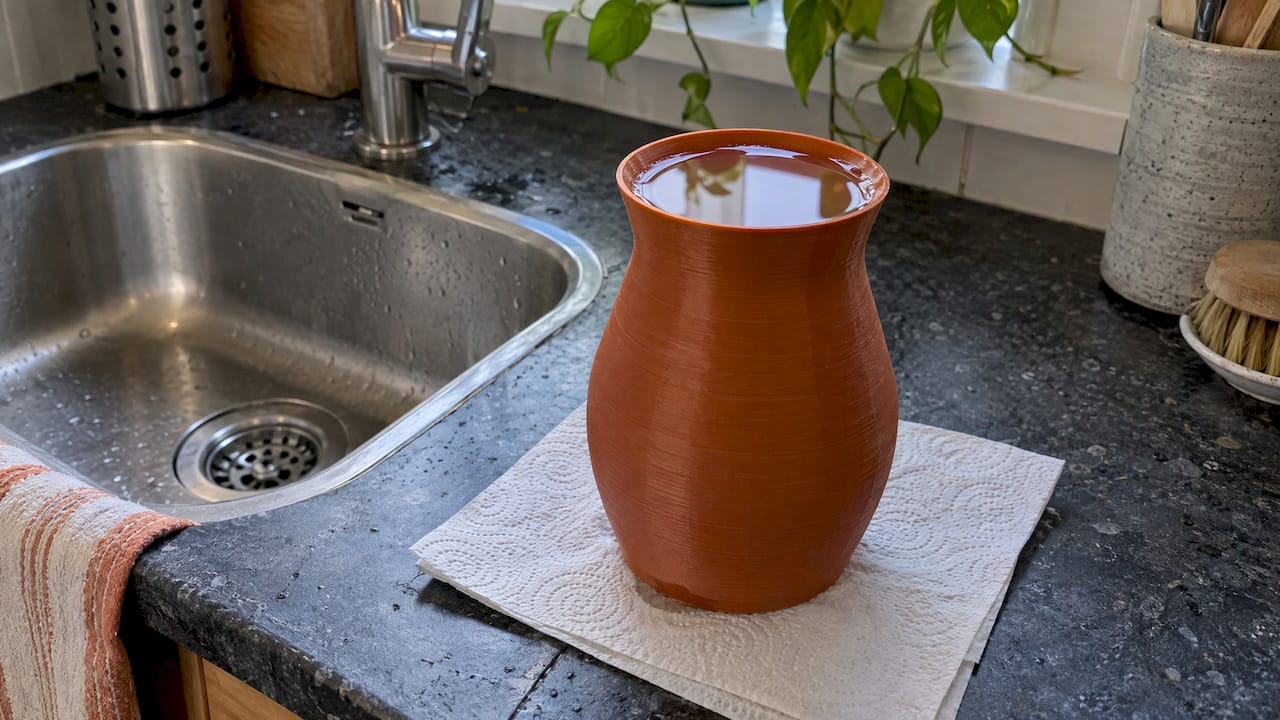
Look at the seam, the base and the infill-to-wall transitions first. Water that enters the infill can weep out of the outer wall hours later, so a wet patch away from the seam points to thin walls rather than a seam fault. A quick pour or a one-minute check proves nothing.
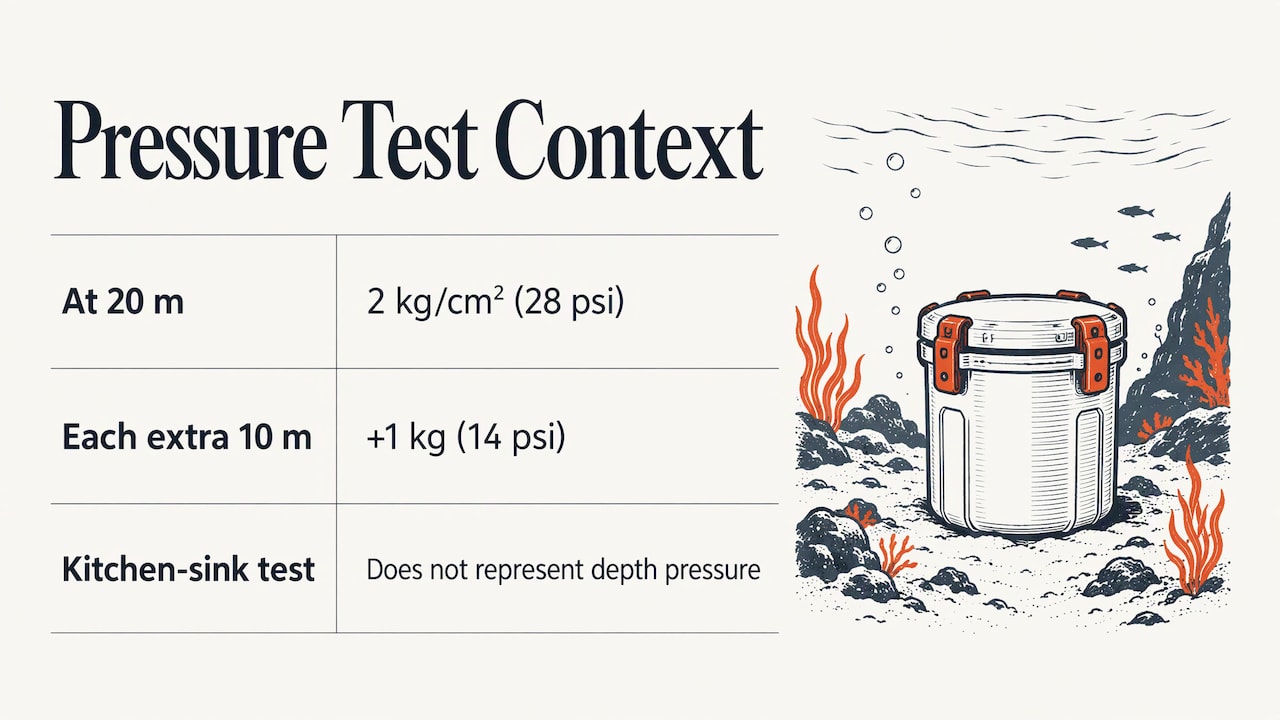
If the part will sit under water, remember pressure. Prusa notes that at 20 metres a closed model’s walls must resist 2 kg/cm² (28 psi), with another 1 kg (14 psi) for every extra 10 metres. A kitchen-sink test does not represent that.
Long soaking, hot water and food contact
Long immersion. Plastics change in water over months. A study of recycled PLA in seawater found a 37% drop in tensile strength after nine months. Another reports PLA’s wet glass transition at 45°C and says it is not a good candidate for long-term undersea structures. For a permanent wet location, pick a material for that environment, not just one that passed a one-day leak test.
Hot liquids. Heat and frequent contact can wear a coating down. Creality advises adding another epoxy layer to PLA or other moisture-sensitive parts after several uses.
Food and drinking water. Prusa says PETG may be food-safe in itself, but layers can harbour bacteria over time. It does not recommend any filament for dishes or direct food contact unless a food-safe epoxy coating and a stainless-steel nozzle are used. Anything that touches food or drink should be treated this way, and for aquariums, choose food-safe or non-toxic sealant.
Our view on waterproof prints
We see the same mistake often: someone orders a part for a wet job and describes the shape but not the water. A plant-pot saucer, a bathroom shelf and a part that sits in a pond all call for different answers.
That is why we start from the intended use. Tell us where the part lives and how wet it gets, and we suggest a material and a sensible wall build. You do not need technical knowledge to get that guidance.
Our instant pricing makes this easy to explore. Upload an STL or 3MF, see the price straight away, and compare options without creating an account. If the part needs redesigning for thicker, even walls, our design service can start from a photo or description.
Rafal
Get a part printed for wet conditions
If you have a model ready, you can upload it for a custom 3D print and see a real-time price, with no account needed. Prices start from £8. We choose materials based on what the part will be used for, and orders arrive by Royal Mail within the UK for £3.75, by local delivery across the Wirral and Chester for £4, or by collection in Ellesmere Port.
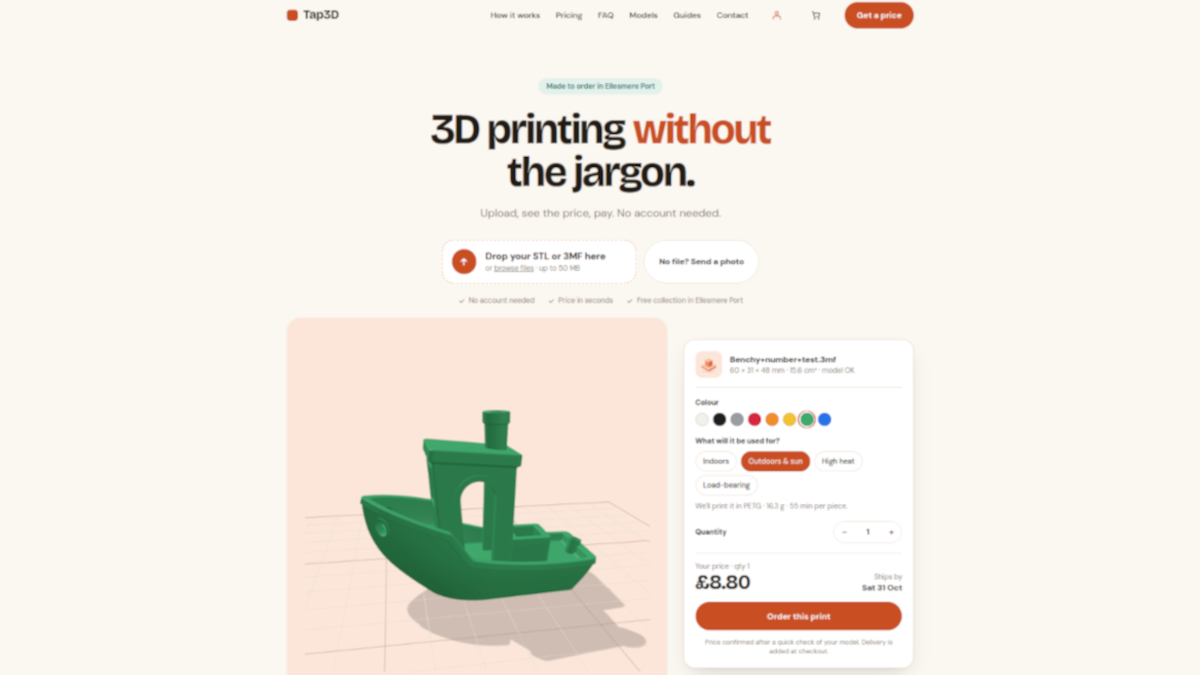
No model yet? Our design service turns a photo or description into a printable file at £25 to £40 per hour. You can see everything we offer on the Tap3D homepage, and browse more advice in our printing guides.
A quick checklist before you order
- Say how wet the part gets: rain, splashes, holding water or soaking.
- Aim for walls of 2 to 3 mm where the part must hold liquid.
- Avoid inside ridges, markers and thin unsupported sections.
- Plan a coating if the part must stay sealed for a long time or hold hot liquid.
- Fill and test the part over hours, on a dry tissue, before trusting it.
- Add food-safe finishing for anything that touches food or drink.
FAQ
Are 3D prints waterproof?
Not by default when they are built from melted layers, as water can pass through microscopic gaps and seams. A thick, even wall, a sealed finish or a resin-printed part makes a big difference. Always test the actual part.
How do I make 3D prints waterproof?
Start with thicker walls: Prusa found 4 to 6 perimeters, 2 to 3 mm, worked for most parts. Then add a coating such as epoxy, applied in thin coats and fully cured. Finish with an hours-long water test.
Does higher infill make a print watertight?
Not on its own. Research shows the quality of the outer wall decides leaks, and prints stay porous whatever the infill. Seams, perimeters and bottom layers deserve attention first.
How long will PLA last underwater?
It depends on temperature and conditions, but studies show strength falls over months. Recycled PLA lost 37% tensile strength after nine months in seawater. For long-term underwater use, choose a material made for it.
Is a waterproofed print safe for food?
Only with care. Prusa does not recommend printed dishes for direct food contact without a food-safe epoxy coating and a stainless-steel nozzle, because layers can harbour bacteria over time.
Sources
- Guide to watertight 3D printing
- Resin 3D printers
- Long-term mechanical performance of 3D printed parts
- Watertight 3D printing part 1
- Watertight 3D printing part 2
- Watertight prints, Prusa Knowledge Base
- PETG, Prusa Knowledge Base
- Testing a 3D print for leaks
- Micro-CT imaging of leak-free printed channels
- Infill and waterproofing experiment
- Tightness of FDM parts study
- Flow and sealing study (PDF)
- Watertight 3D printing guide, Creality
- How to coat a print, ColorFabb
- Waterproof 3D printed parts, UltiMaker
- Extreme waterproof 3D prints, Hackaday
- Recycled PLA in aggressive conditions