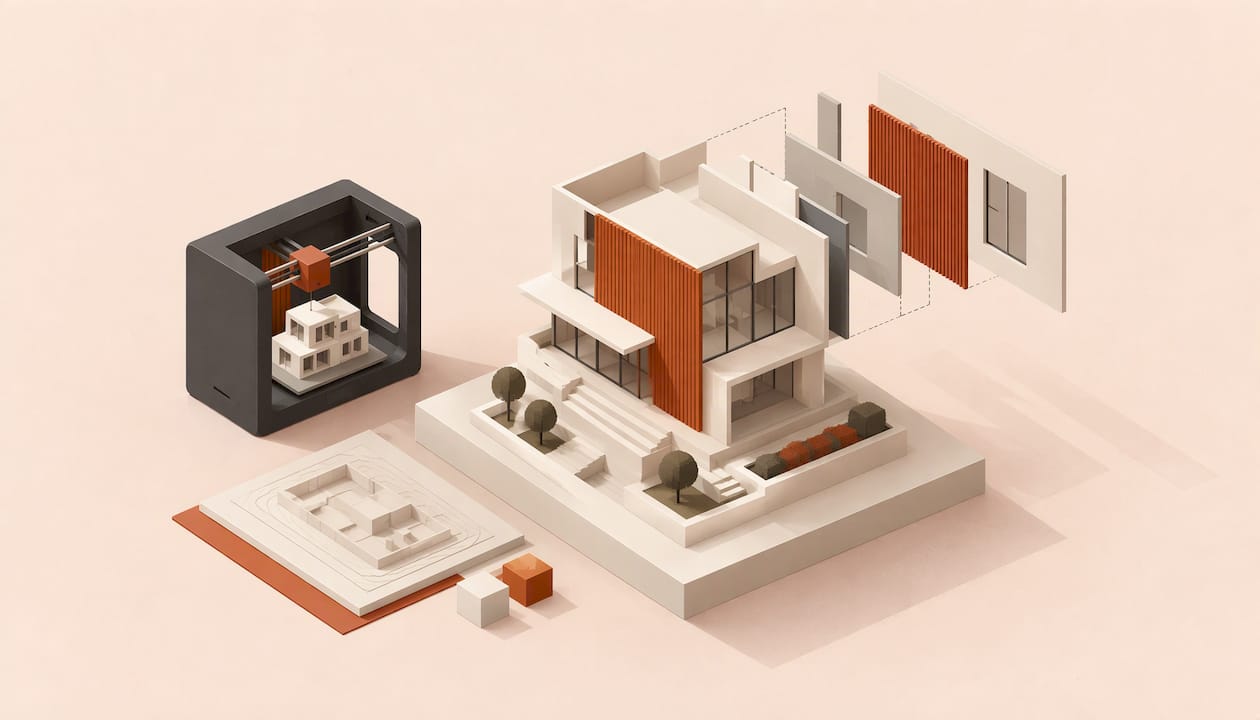
You can turn a digital building design into a physical architectural model by exporting a clean, closed STL or 3MF file, choosing a scale that your walls and details can survive, and sending it to a print service that quotes instantly. Most failed models fail before printing starts, in the file. This guide covers what 3D printing does well in architecture, how to prepare your model, how to pick a scale, and how to order in the UK.
TL;DR
- 3D printing is strongest where hand-building is slowest: curves, spheres, repeated façade elements, stairs, trees and complex joints.
- Every printed part must be a closed, watertight solid. Simplify your design copy, thicken thin walls and export in millimetres.
- Scale decides what survives. Check your thinnest wall at your chosen scale before you export.
- Large models are normally split into parts and joined afterwards, which also makes them easier to transport.
- At Tap3D you upload STL or 3MF, see the price instantly and order with no account. Printing starts from £8.
Table of Contents
- What 3D printing does for architectural models
- Preparing your model for printing
- Choosing a scale
- Processes and materials: what suits a model
- Finishing a printed model
- Perspective: why we keep the process simple
- Ordering your architectural model in the UK
- Order your architectural model with Tap3D
- Common mistakes to avoid
- FAQ
- Sources
What 3D printing does for architectural models
Architectural modelmaking has always been a mix of cutting, folding, gluing and finishing. 3D printing did not replace that. It changed which parts are worth doing by hand.
According to the Architects’ Journal, modelmakers embraced 3D printers to work faster and to make new experimental model types, including stacked acrylic models, and printed plaster or bonded resin components can be combined with traditional materials. The same piece makes a point worth keeping in mind: a printer used alone to produce a whole model can look soulless, and the best results come from pairing the technology with people who know how to abstract and make. Think of the printer as one tool in the workshop.
The V&A’s blog on models in contemporary practice notes that large-scale or even 1:1 printed detail models are used to work out aspects such as the best profile of façade panels, so that the intended light and shade effects are achieved. That is a useful reminder that a model is not only a presentation object. It is a way of testing a decision.
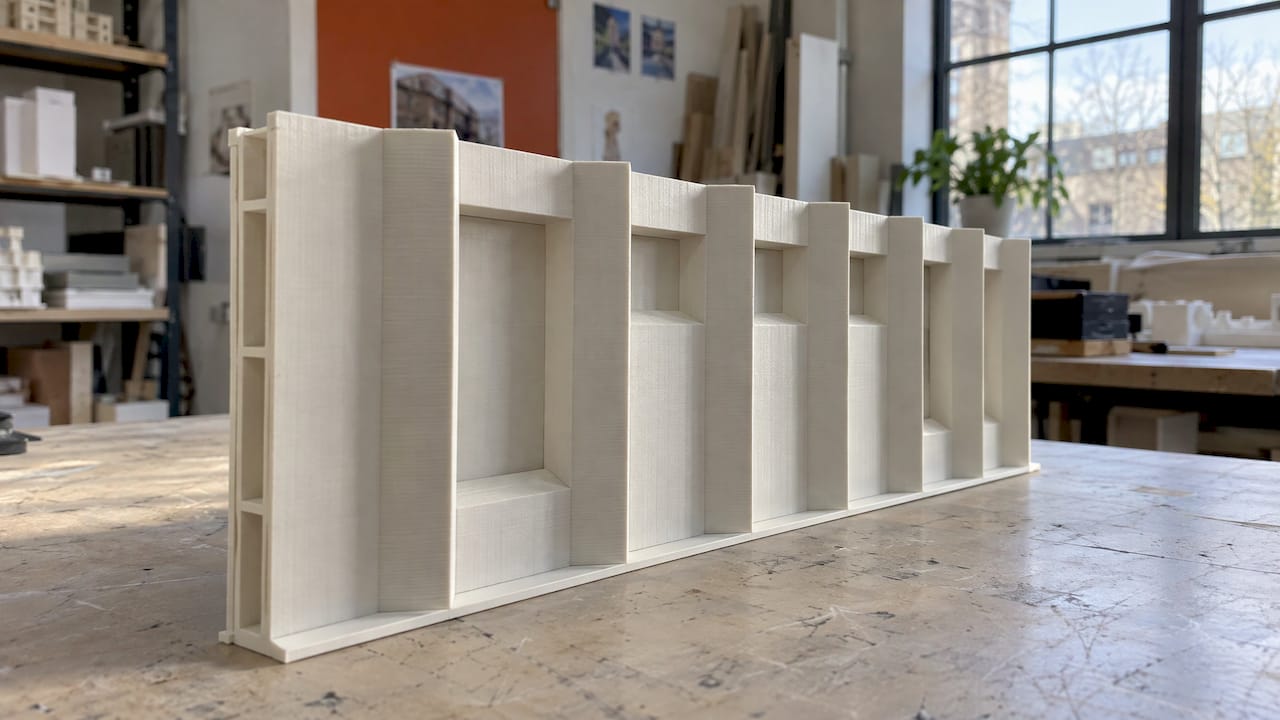
Formlabs describes how Renzo Piano Building Workshop uses printing for geometry that is hard to make by hand, such as spheres and curved surfaces, as well as intricate stairs and trees. Their model for a motorway bridge included printed complex column joints.
Where printing earns its place
- Curved and organic forms. Domes, shells, sculpted roofs and landscape contours are tedious to cut from card or foam and straightforward to print.
- Repeated elements. Façade fins, balustrades, columns and louvres can be printed as identical parts.
- Massing and study models. Quick, inexpensive iterations let you compare options side by side before committing to one.
- Fine detail. Stairs, railings, furniture and planting that would take hours with a scalpel.
- Client communication. A physical object is easier for clients and planners to read than a set of 2D drawings, a benefit Formlabs highlights in its guide to 3D printing architectural models.
Preparing your model for printing
A printer does not care how good the design is. It needs clean geometry. The file you hand over should be a simplified copy of your design, not the working drawing model.
1. Duplicate and simplify
Work on a copy. Delete everything that will not appear in the physical model: interior layers, hatches, text, people, furniture and any detail thinner than the process can resolve. Entourage such as trees is better added separately, or printed as its own part, than left embedded as a thin mesh.
2. Make every part a closed solid
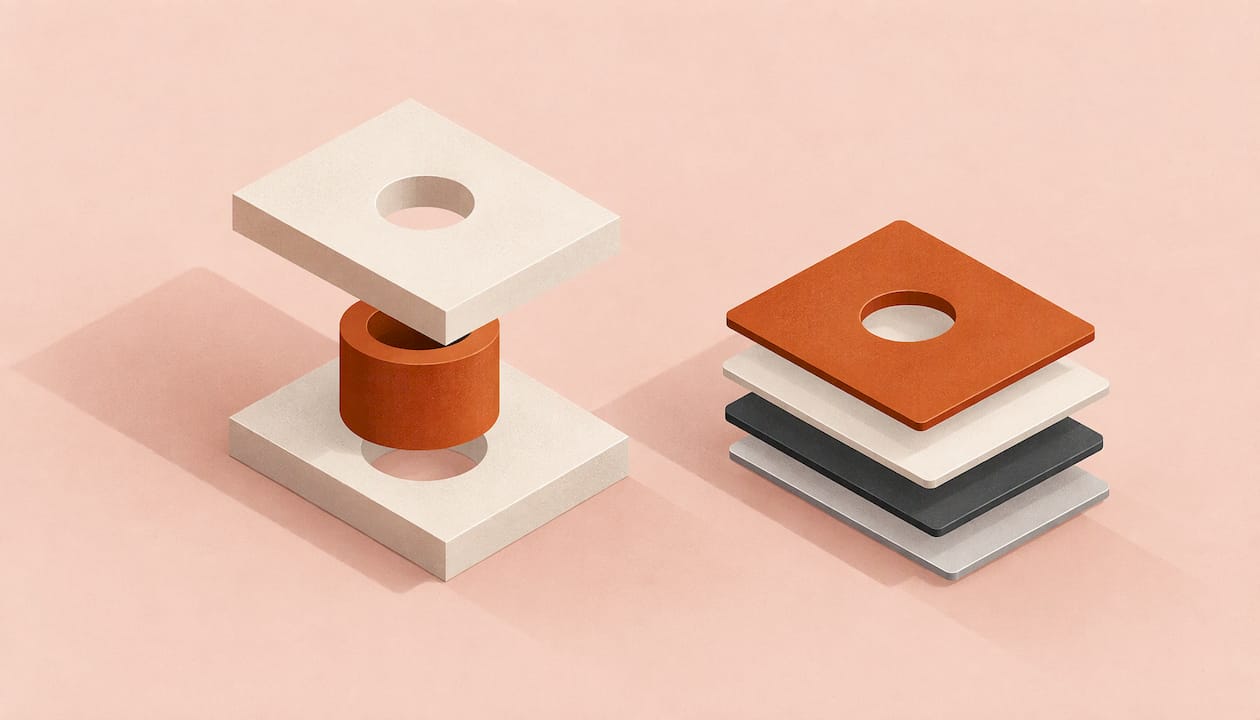
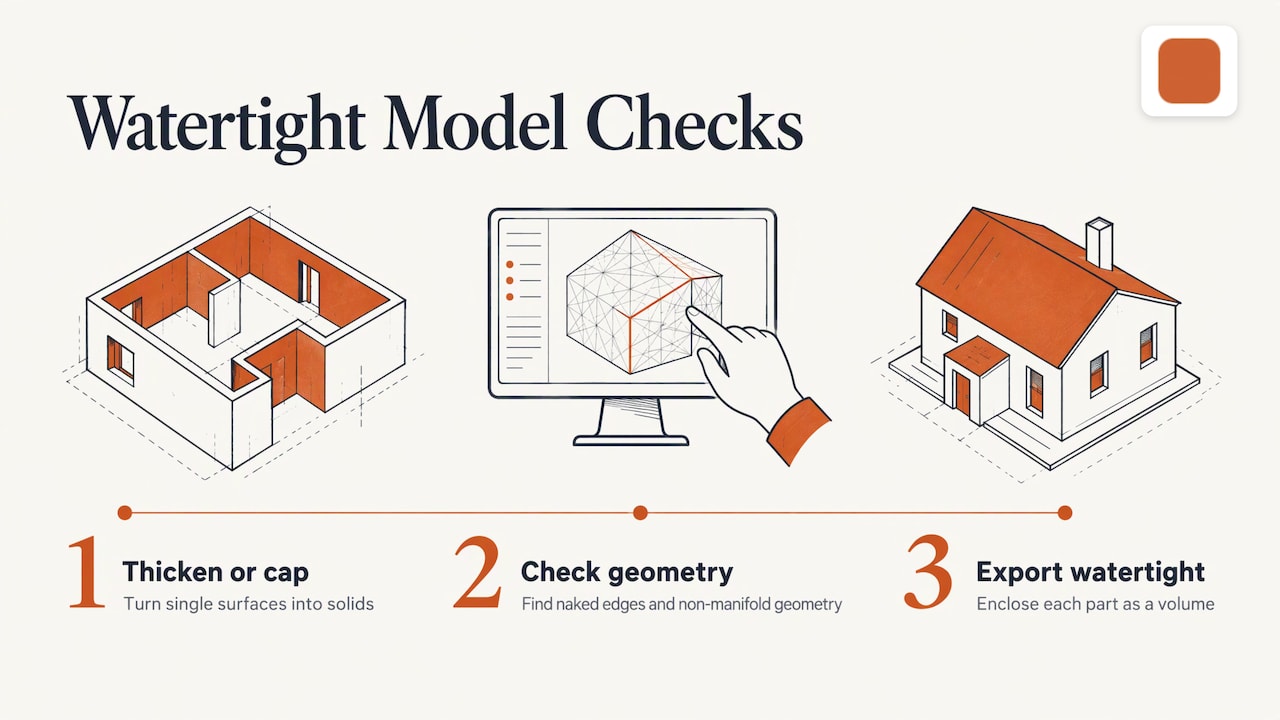
The most common cause of print errors is an open mesh: gaps, missing faces or surfaces with no thickness. Each printed part has to be a fully enclosed volume. A walls-as-single-surfaces model from Rhino, SketchUp or Revit will often need to be thickened or capped before it becomes solid. Check for naked edges and non-manifold geometry in your modelling software before exporting. The Architects’ Journal notes that preparing a file takes skill in understanding orientation, supports, tolerancing and converting the virtual model into a watertight object.
3. Thicken for your scale
A wall that is 100 mm thick in reality is 0.5 mm at 1:200. That is a thin sheet of plastic that may be fragile or not print at all. Decide your minimum wall thickness first, then exaggerate walls, sills, railings and mullions until they exceed it. Small exaggeration is normal in architectural models and rarely reads as wrong.
4. Split large or complex models
Big models, models with several components and models with intricate features are usually divided into printable parts and assembled afterwards, with adhesive or mechanical joints. Professional modelmakers do this as well: the Renzo Piano team described dividing large models into pieces for transport and reassembling them at the destination. Splitting along natural lines, such as floors, a base and a roof, gives you flat, stable parts and hides the joins.
5. Export in millimetres
Export as STL or 3MF, in millimetres, at the real size of the model you want to receive (not full building size). If the file arrives at the wrong scale, the quote and the model will both be wrong. Open the exported file in a mesh viewer before uploading and confirm the dimensions.
A quick pre-upload checklist
| Check | Why it matters |
|---|---|
| Each part is a closed solid | Open meshes cause print errors or missing surfaces |
| Units are millimetres | Prevents a model arriving ten or a hundred times the wrong size |
| Thinnest wall is thickened for your scale | Thin features can break or fail to print |
| Interior clutter and text deleted | Keeps the file small and the quote accurate |
| Large model split into parts | Fits the build space and is easier to post or carry |
| Flat base included | Gives the model a stable surface to print and display on |
Choosing a scale
Scale is the decision that shapes everything else: price, print time, detail and how many parts you need.
- Site and massing models (small scales, such as 1:500 or 1:1000). Buildings read as blocks. Fine detail disappears, so simplify aggressively and focus on form, heights and street pattern.
- Building models (around 1:200 to 1:100). Façade rhythm, openings and roof shapes show up. Walls usually need thickening, and window frames may need to be stylised.
- Detail and interior models (1:50 and larger). Stairs, balustrades and joints can be modelled accurately, but the model gets bigger, so expect more parts and a higher price.
A useful rule: take the thinnest feature that matters to you, convert it to model scale, and ask whether it is robust enough to be handled. If not, thicken it or remove it.
Processes and materials: what suits a model
Different printing technologies suit different jobs. UCL’s Bartlett school publishes the kit its students use in the B-made 3D printing facility, and it is a good snapshot of what architecture schools reach for:
- SLS with white nylon powder, for strong parts and complex geometry without support structures.
- PolyJet with acrylic-based resin, with full colour available and a quoted 24-hour lead time.
- SLA with clear acrylic-based resin, suited to small, fine-detail parts.
- FDM with PLA, for larger build volumes.
The trade-off is the same everywhere: finer detail usually means a smaller build area, while larger parts mean coarser surfaces. The Architects’ Journal also points out that production speeds are held back by the melting and fusing points of the materials, so do not expect a printer to match the huge material variety of a hand-built model.
For most students, hobbyists and small practices ordering a study or presentation model, the practical question is simpler: what will this model be used for? A model that will be handled at a client meeting needs toughness. A model that sits behind glass can be more delicate. A model you intend to paint should have a surface that takes primer well. At Tap3D, we choose material by intended use, so you can describe what the model is for and we will point you to a sensible option without you needing technical knowledge.
Finishing a printed model
A printed part is not always the finished model. The Architects’ Journal notes that after printing, support structures or powder must be removed by hand, and the part cleaned up or cured before any hand-finishing.
Typical finishing steps for an architectural model:
- Remove supports and clean the surface.
- Sand visible faces lightly where layer lines show, especially on large flat walls.
- Prime, then paint if you want a uniform colour, such as the classic white or grey of a massing model.
- Assemble parts with adhesive, using the flat split faces you planned earlier.
- Mount on a base made from foam board, wood or acrylic, and add entourage or hand-cut details.
Many architects combine printed elements with card, timber or acrylic for exactly this reason: each material does what it does best.
Perspective: why we keep the process simple
We built Tap3D around a frustration. Getting a part printed used to mean creating an account, guessing at technical settings and waiting for a quote to come back by email. For architectural work, where a student or designer has a file and a deadline, that is the wrong way round.
So our approach is the opposite. Upload your STL or 3MF, see the price straight away, and order without registering. If you are unsure which material suits a model that will be handled, displayed or painted, we guide you by the intended use rather than expecting you to know the jargon. Every order gets a human check before it prints, because a quick glance at the file catches problems that software alone does not.
We think the best architectural models still combine the printer with good judgement: print the curves, the repeated elements and the fiddly details, then finish and assemble by hand. And if you do not have a printable file yet, we can design from a photo or a description, billed hourly.
Rafal
Ordering your architectural model in the UK
Here is how it works with us, step by step.
- Upload your file. STL or 3MF, in millimetres, on the custom 3D print page.
- See the price. The quote is calculated in real time, so you can change scale or size and see the effect on cost immediately. Printing starts from £8.
- Choose your material based on what the model is for.
- Pick how you receive it. Collection in Ellesmere Port is free. Local delivery across the Wirral and Chester is £4, and Royal Mail delivery anywhere in the UK is £3.75.
- Check out with no account needed.
What affects the price
We do not give one figure for an architectural model, because the price follows your file. The main drivers are the size of the model, the volume of material used, the material you choose and how many parts you order. Reducing the scale, hollowing or simplifying hidden areas, and removing detail nobody will see all bring the price down. Because the quote is instant, the quickest way to find the right balance is to try a couple of scales and compare.
Do you only have a sketch or photos?
If you do not have a print-ready file, our design service builds one from a photo or a written description at £25 to £40 per hour. That suits a small site model from reference images, or a one-off detail you want to reproduce. Tell us what the model is for and what scale you want, and we will say how long we expect it to take.
Order your architectural model with Tap3D
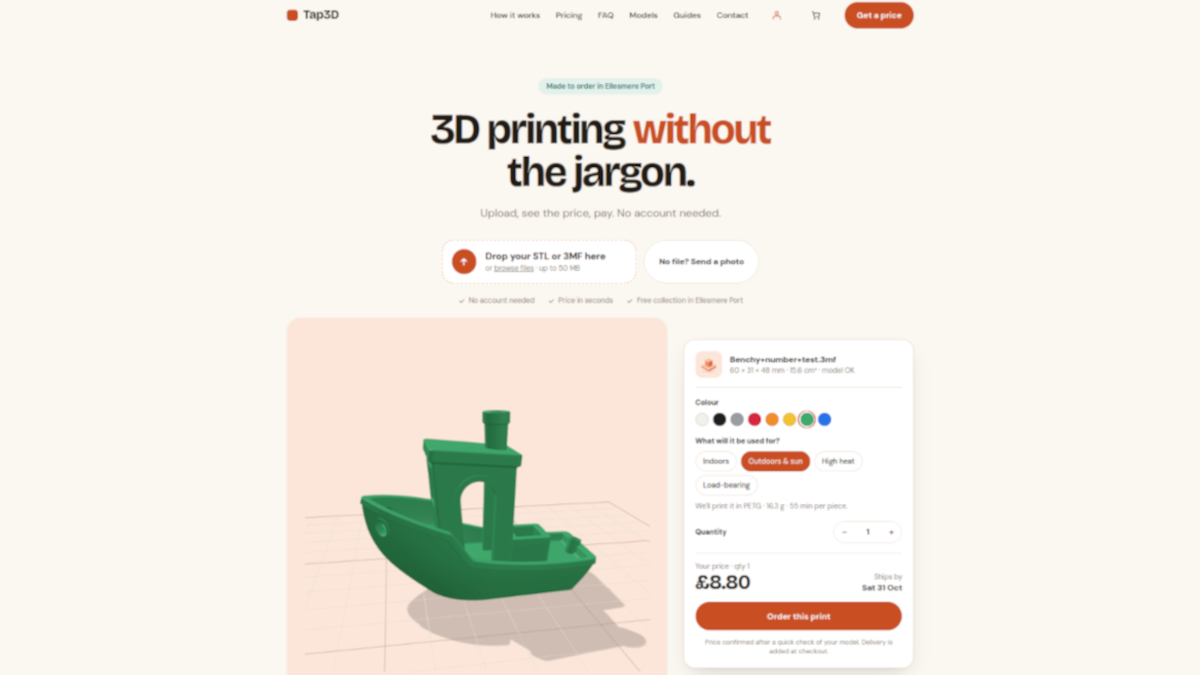
If your file is ready, you can upload it for an instant price and order without creating an account. Prices start at £8, and you can collect locally in Ellesmere Port or have it delivered. If you need a file made first, our design from a photo or description service is billed hourly.
Browsing for ideas rather than ordering? Our models archive has hand-picked printable models for home, garden, tech and organisation.
Common mistakes to avoid
- Printing the working model. Send a simplified copy, not the full BIM or CAD file with every layer.
- Forgetting that thin is fragile. A wall that looks right on screen can snap in the hand. Thicken first.
- Ignoring orientation. Surfaces facing up tend to look different from those printed against supports, so think about which faces are most visible.
- Printing everything in one piece. Splitting a model gives you cleaner surfaces and an easier route to transport.
- Leaving out the base. A flat base makes a model stable and gives you somewhere to put a title and scale.
There is a wider point in the TU Delft course reading on 3D printing: it describes the process as a direct file to factory route, with little human intervention once printing starts. That is exactly why the preparation stage matters. Whatever is in the file is what you will hold.
FAQ
Can I 3D print an architectural model from a Revit, SketchUp or Rhino file?
Yes, but export a simplified copy as STL or 3MF in millimetres. Make sure each part is a closed solid and thicken thin walls first. If your file is not print-ready, we can help by design from your description or photos, billed hourly.
What scale should I choose?
Choose the smallest scale at which your thinnest important feature is still sturdy. Site and massing models often work at small scales, while building and detail models need larger ones. Because our quotes are instant, you can compare a couple of scales before ordering.
How much does a 3D printed architectural model cost?
Price depends on the size, material and volume of your file. At Tap3D, printing starts from £8, and you see your exact price when you upload. Delivery is £4 locally on the Wirral and in Chester, £3.75 by Royal Mail across the UK, and collection in Ellesmere Port is free.
Should I print the whole model or combine printing with hand-building?
Many architects do both. Printing suits curves, repeated elements and fine details, while card, timber or acrylic suit flat planes and bases. This mixed approach is what modelmakers describe as giving the best results.
Do I need an account to order?
No. You upload your file, see the price, choose delivery or collection and pay at checkout.
Sources
- 3D printing has boosted modelmaking, Architects’ Journal
- Working in miniature: the use of models in contemporary architectural practice, V&A Blog
- How Renzo Piano Building Workshop creates architectural models with 3D printing, Formlabs
- Guide to 3D printing architectural models, Formlabs
- B-made 3D printing, UCL Bartlett
- 6.2.5 3D Printing, TU Delft OCW